User Guide
How to Use
RunMate Pro
Everything you need to know — from your first run to advanced features. No account required. Just download and go.
Getting Started
No account needed
RunMate Pro works immediately after download. No email, no password, no social profile. Just open and run.
Download & First Launch
- 1.Download RunMate Pro free from the App Store.
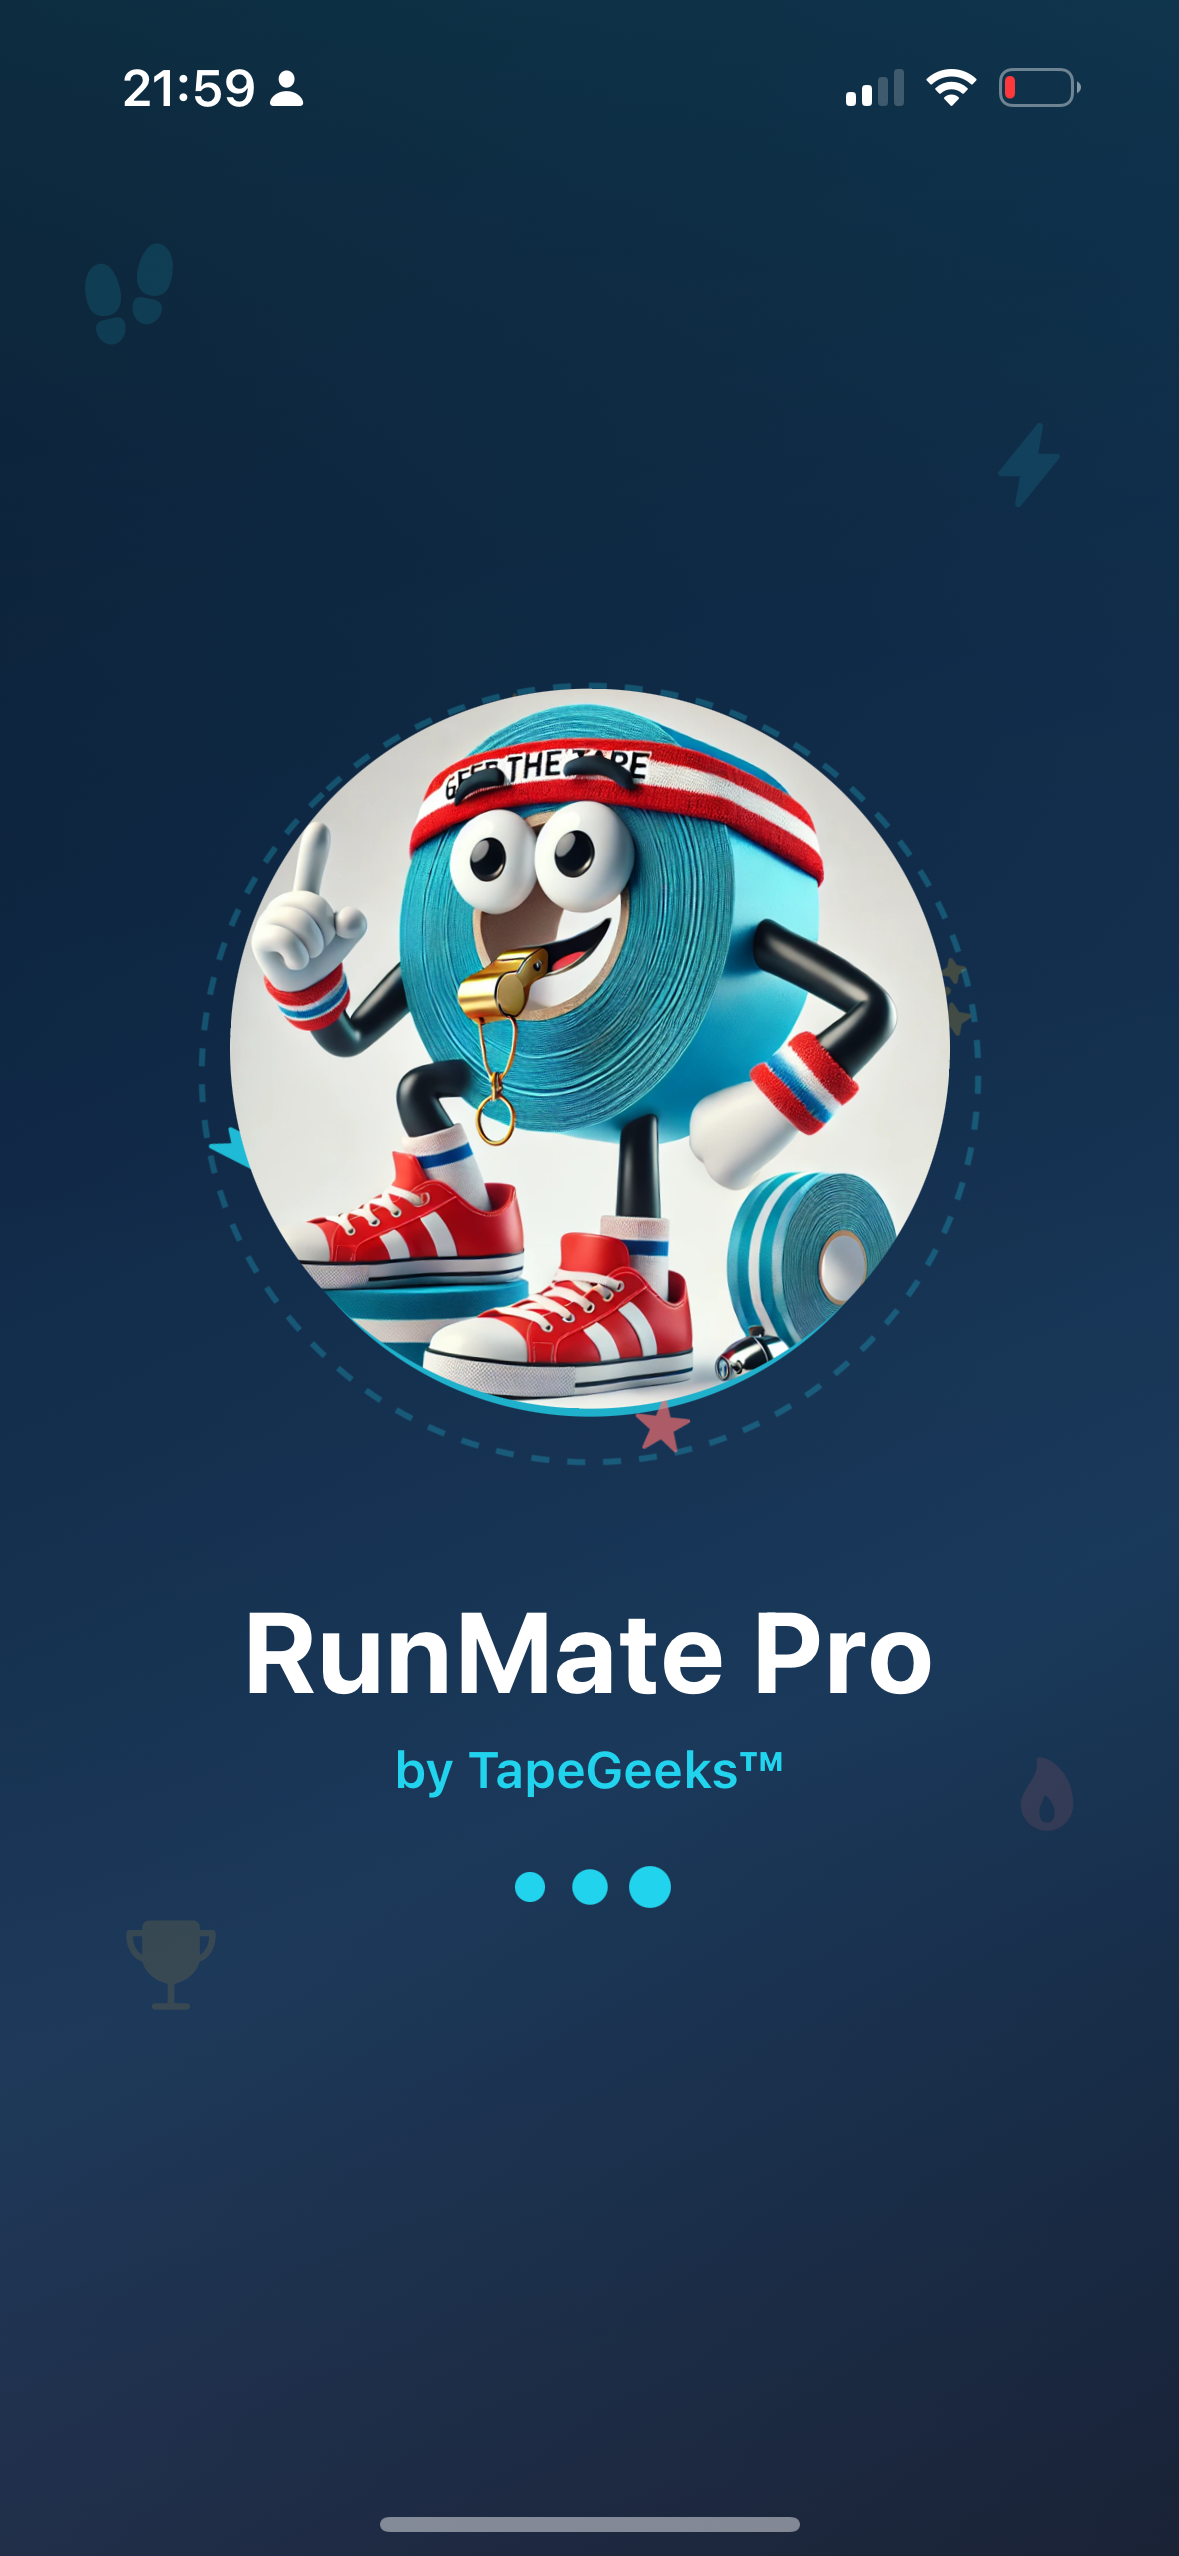
- 2.Open the app. You'll see a welcome screen with our mascot, Geek the Tape.
- 3.Set your profile: name, preferred units (km or miles), and weekly distance goal.
- 4.When prompted, allow location access for GPS tracking. Choose "Allow While Using App" or "Always Allow" for background tracking.
- 5.You're ready! Add your first pair of shoes and track your first run.
Requirements
- iPhone or iPad running iOS 15 or later
- Location Services enabled for GPS tracking
- Internet connection required for GPS tracking and map data
Navigation
RunMate Pro uses a 5-tab navigation bar at the bottom of the screen:
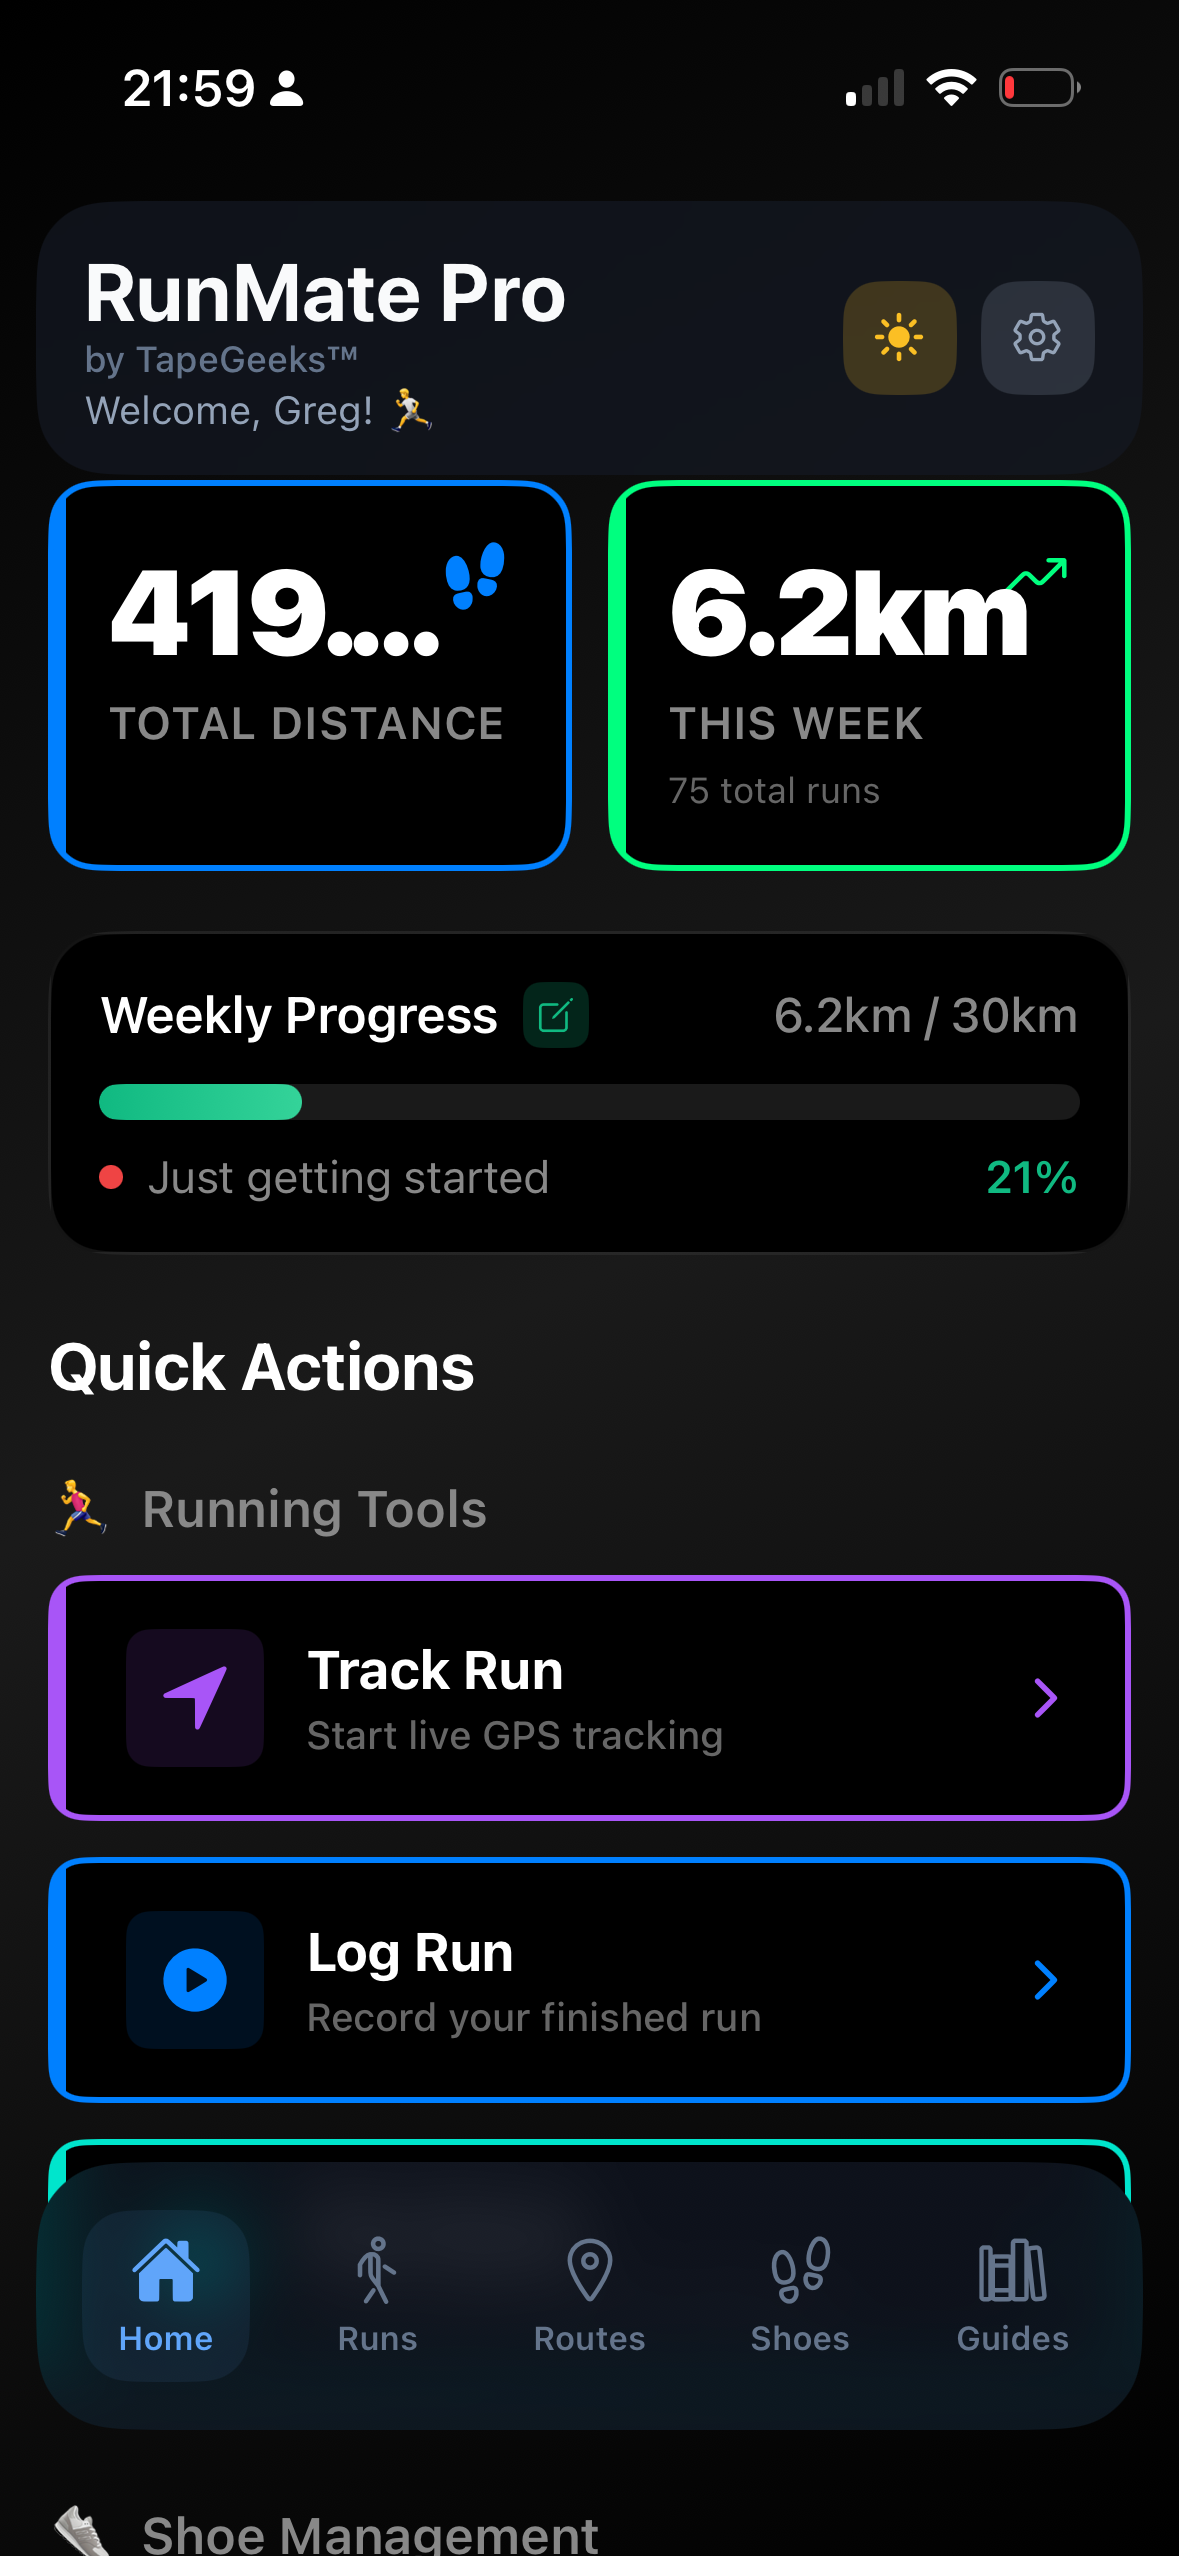
Home Dashboard
The Home tab is your central dashboard. At a glance, you'll see your running progress, quick actions, and recent activity.
Stats Cards
Weekly Progress Bar
Shows your progress toward your weekly distance goal with three states:
- Green — "Goal achieved!" (100%+)
- Orange — "Halfway there" (50-100%)
- Red — "Just getting started" (below 50%)
Tap the progress bar to adjust your weekly goal anytime.
Quick Actions
One-tap access to your most-used features:
- Track Run — Launch live GPS tracking immediately
- Log Run — Manually record a completed run
- Plan Route — Generate running loops from your location
- Shoes — View and manage your shoe collection
- History — View all past runs and statistics
- Runner's Guide — Access injury prevention content
Recent Runs
Your 3 most recent runs are displayed as cards showing distance, date, shoe used, and any notes. Tap a run to see full details.
GPS Tracking
Starting a GPS Run
- 1.Tap Track Run from the Home screen or Runs tab.
- 2.Select which shoes you're wearing from the modal.
- 3.Wait for GPS lock (10-30 seconds, best outdoors with clear sky).
- 4.Tap the green Start Tracking button.
During Your Run
The tracking screen displays a live map of your route with real-time stats:
Controls
- Pause / Resume — Temporarily stop tracking (timer pauses, no GPS points recorded)
- Finish — End your run and save (appears after 0.5km). Opens completion screen with your route map.
- Discard — Cancel without saving. Confirmation required.
Background Tracking
GPS tracking continues with your phone in your pocket or with the screen off. Your route, distance, and pace are recorded continuously. For best results, keep your phone in a stable position (armband or pocket).
Compact GPS Mode
Enable Compact GPS UI in Settings to minimize the stats overlay. The map fills more of the screen and you can tap once to reveal stats temporarily.
Logging Runs Manually
Ran without GPS? You can log any run manually to keep your shoe mileage and stats accurate.
- 1.Go to Runs tab and tap Log Run.
- 2.Select the shoes you wore.
- 3.Enter the distance in your preferred unit (km or miles).
- 4.Optionally add notes (how you felt, weather conditions, etc.).
- 5.Adjust the date if logging a past run (defaults to today).
- 6.Tap Log Run to save.
Manually logged runs count toward your weekly goal, total distance, and shoe mileage — just without the route map.
Run History & Statistics
Run History
Access via Runs tab > History. All runs are listed newest-first, showing distance, date, shoe name, and notes.
Tap any run to see full details including route map (if GPS-tracked), pace, duration, and notes. You can edit notes or delete runs from the detail screen.
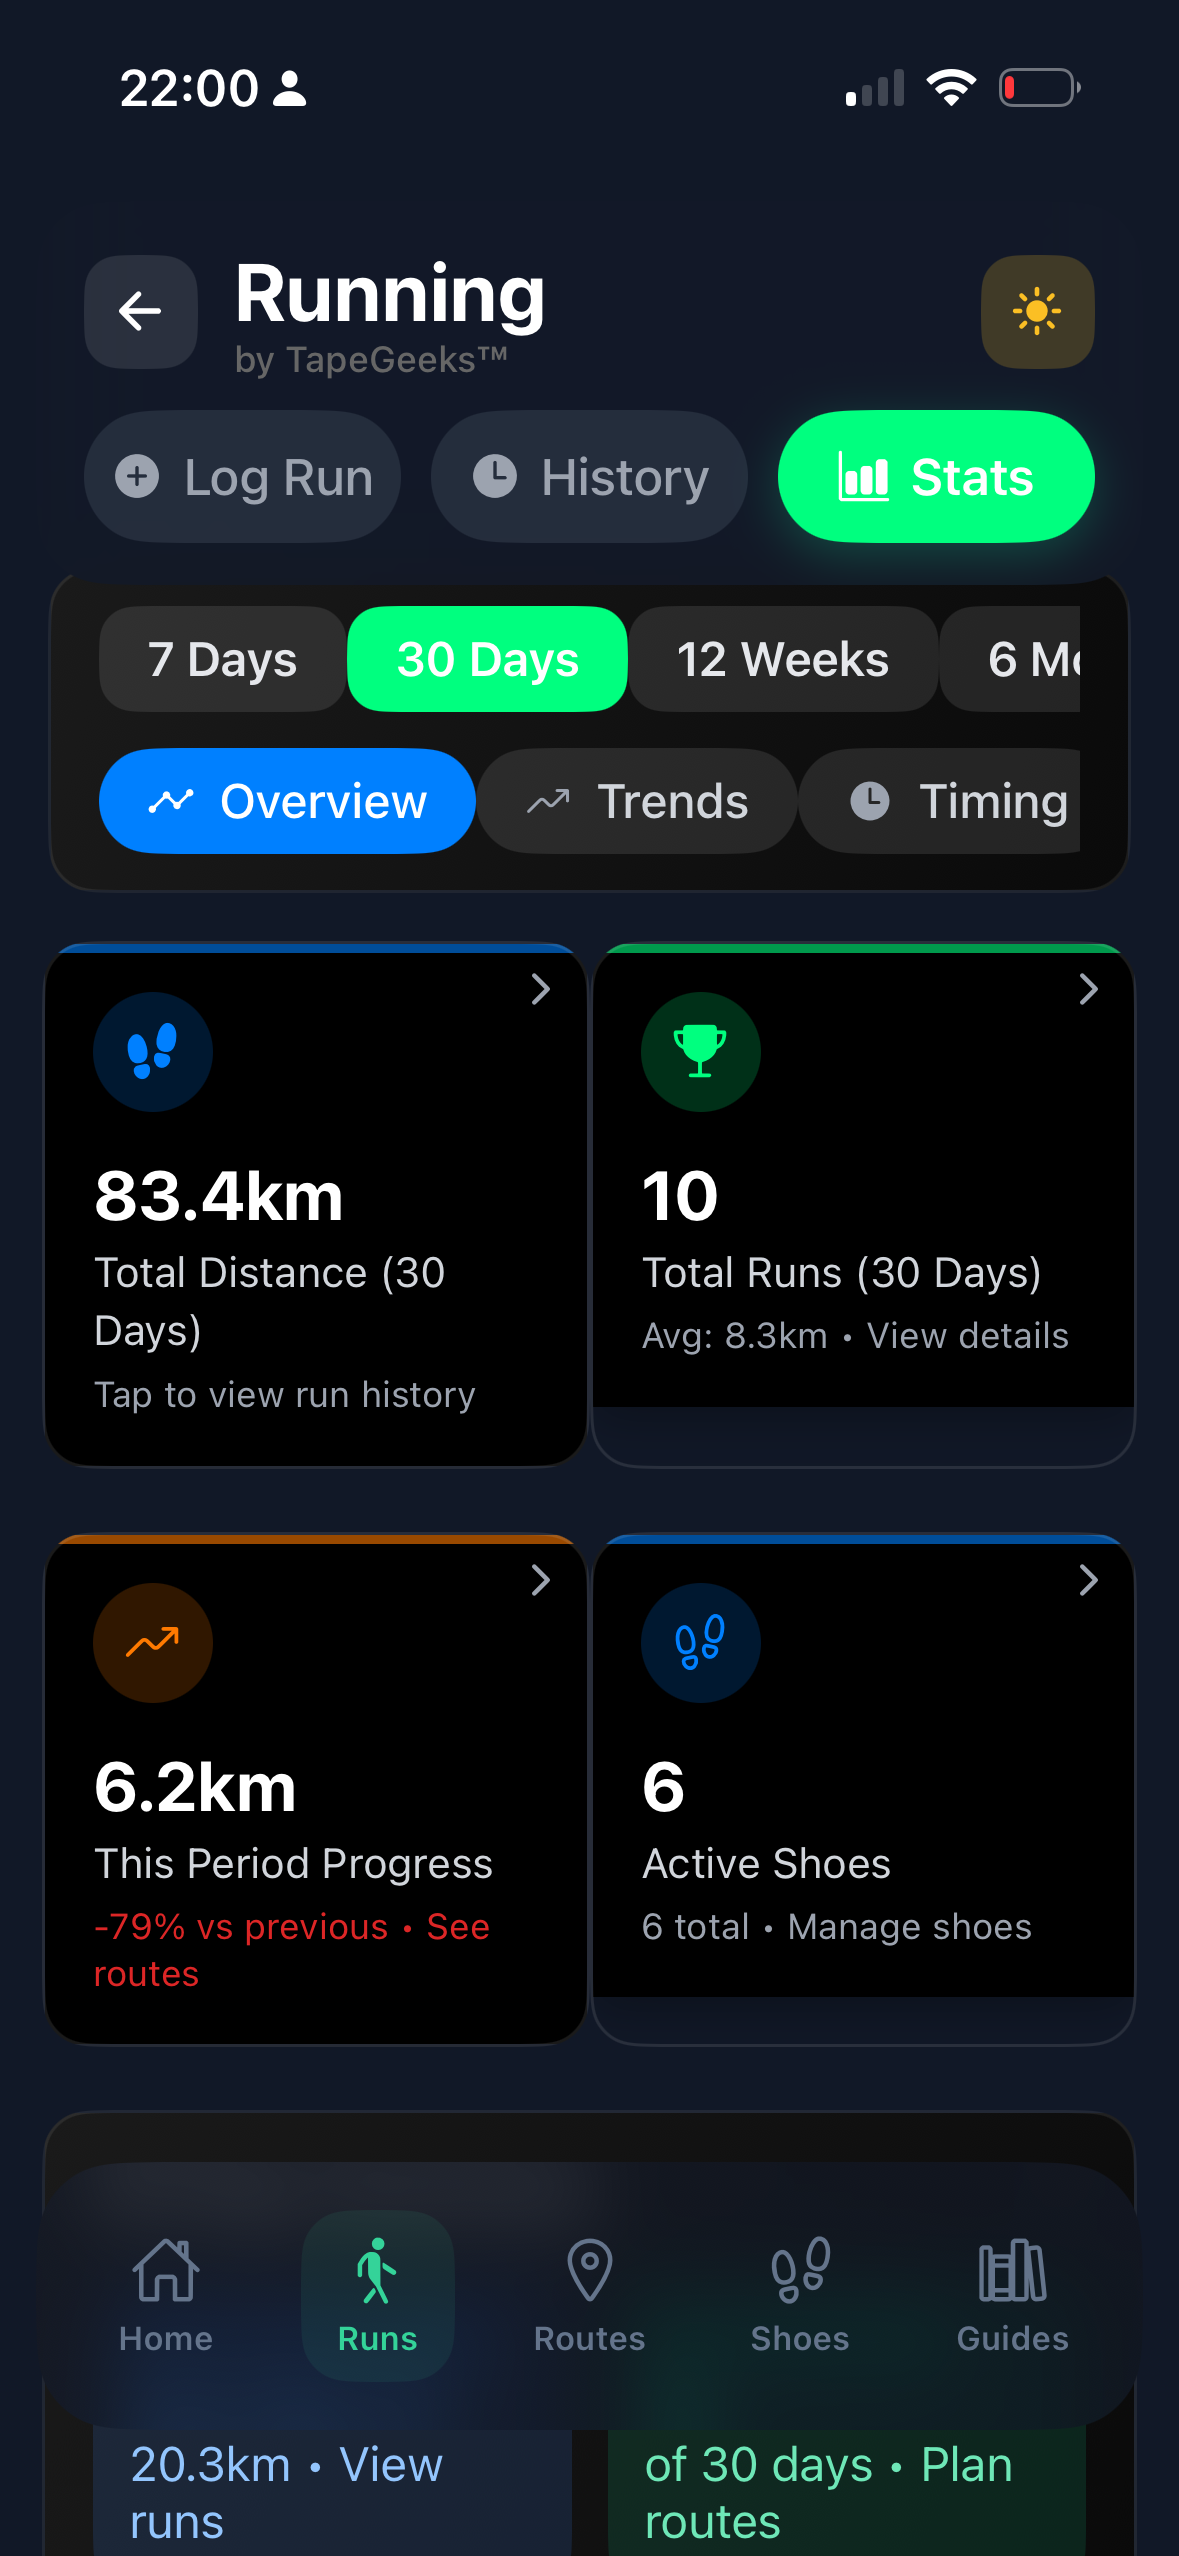
Statistics
Access via Runs tab > Stats. Analyze your performance across different time periods:
What's Tracked
- Overview — Total distance, total runs, average pace, current streak
- Trends — Daily/weekly distance graphs over time
- Timing — Fastest pace, longest run, duration breakdown
- Shoes — Distance per shoe, usage count
- Records — Personal bests (longest run, highest weekly distance, longest streak)
Shoe Management
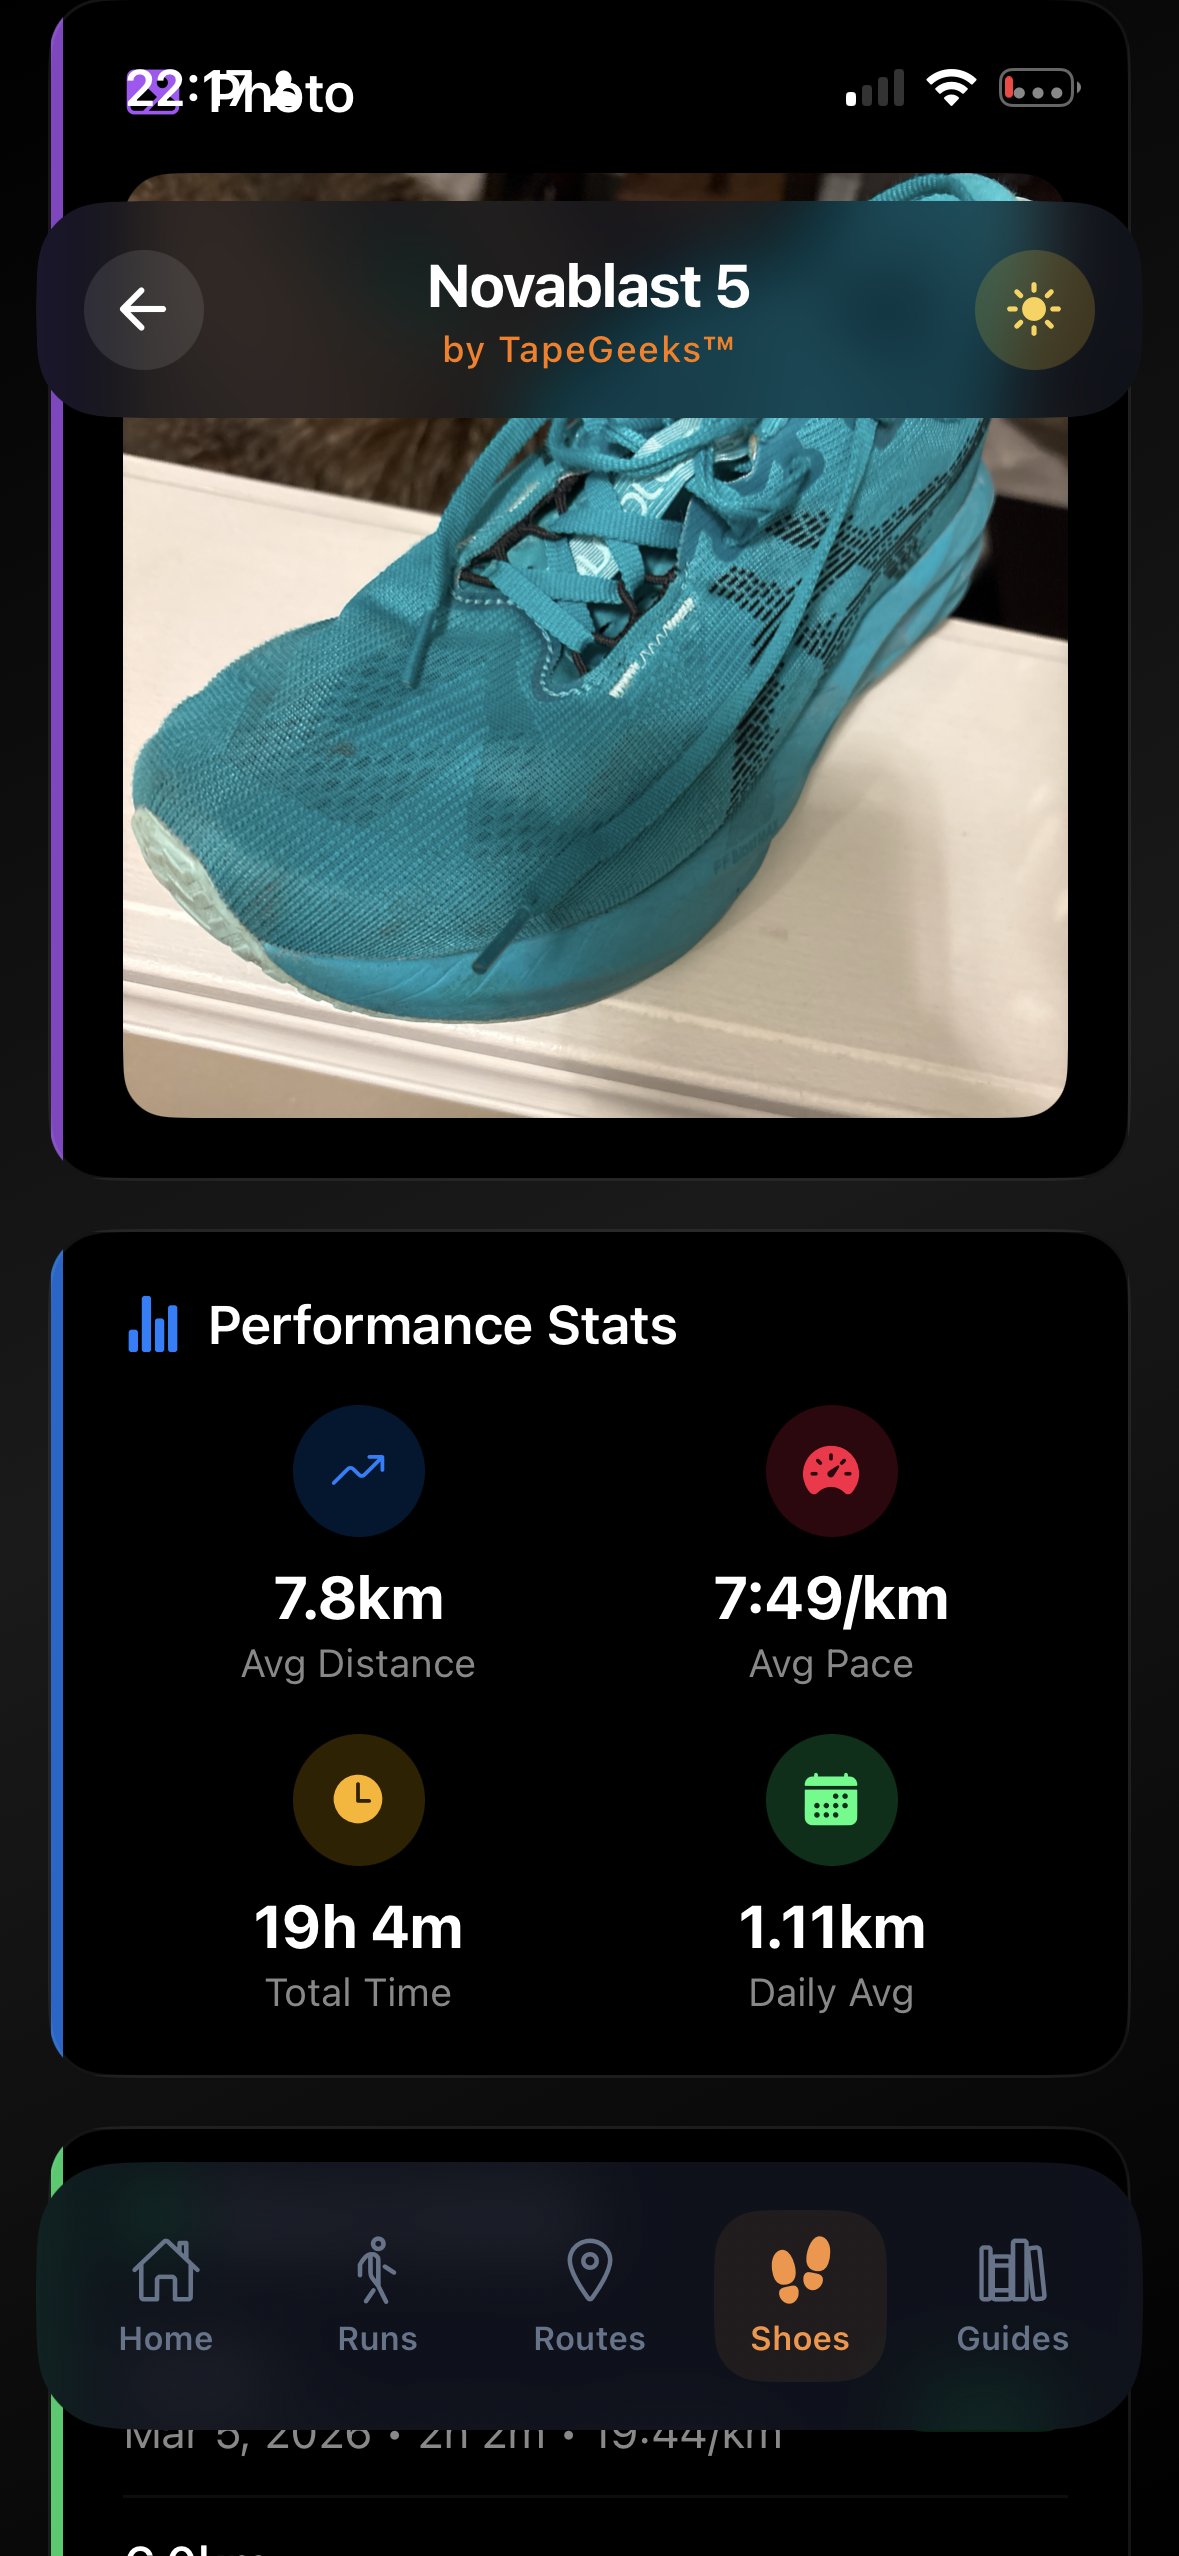
Running shoes lose cushioning between 400-800km. RunMate Pro tracks every kilometer for each pair so you know exactly when to replace them.
Adding a Shoe
- 1.Go to Shoes tab and tap Add Shoe.
- 2.Enter the shoe name, brand, and model.
- 3.Select the type: Training, Racing, Trail, or Walking.
- 4.Optionally add a photo, purchase date, and starting mileage.
- 5.The app sets a recommended lifespan based on shoe type (customizable).
Shoe Lifespan Guidelines
| Type | Recommended Lifespan |
|---|---|
| Training | 800 - 1,000 km |
| Racing | 400 - 600 km |
| Trail | 600 - 800 km |
| Walking | 1,000 - 1,500 km |
Shoe Alerts
- Yellow alert — Shoe is at 90%+ of its lifespan. Start looking for a replacement.
- Red alert — Lifespan exceeded. The shoe is automatically marked as "Retired."
You can still select a retired shoe for runs, but an alert will be shown.
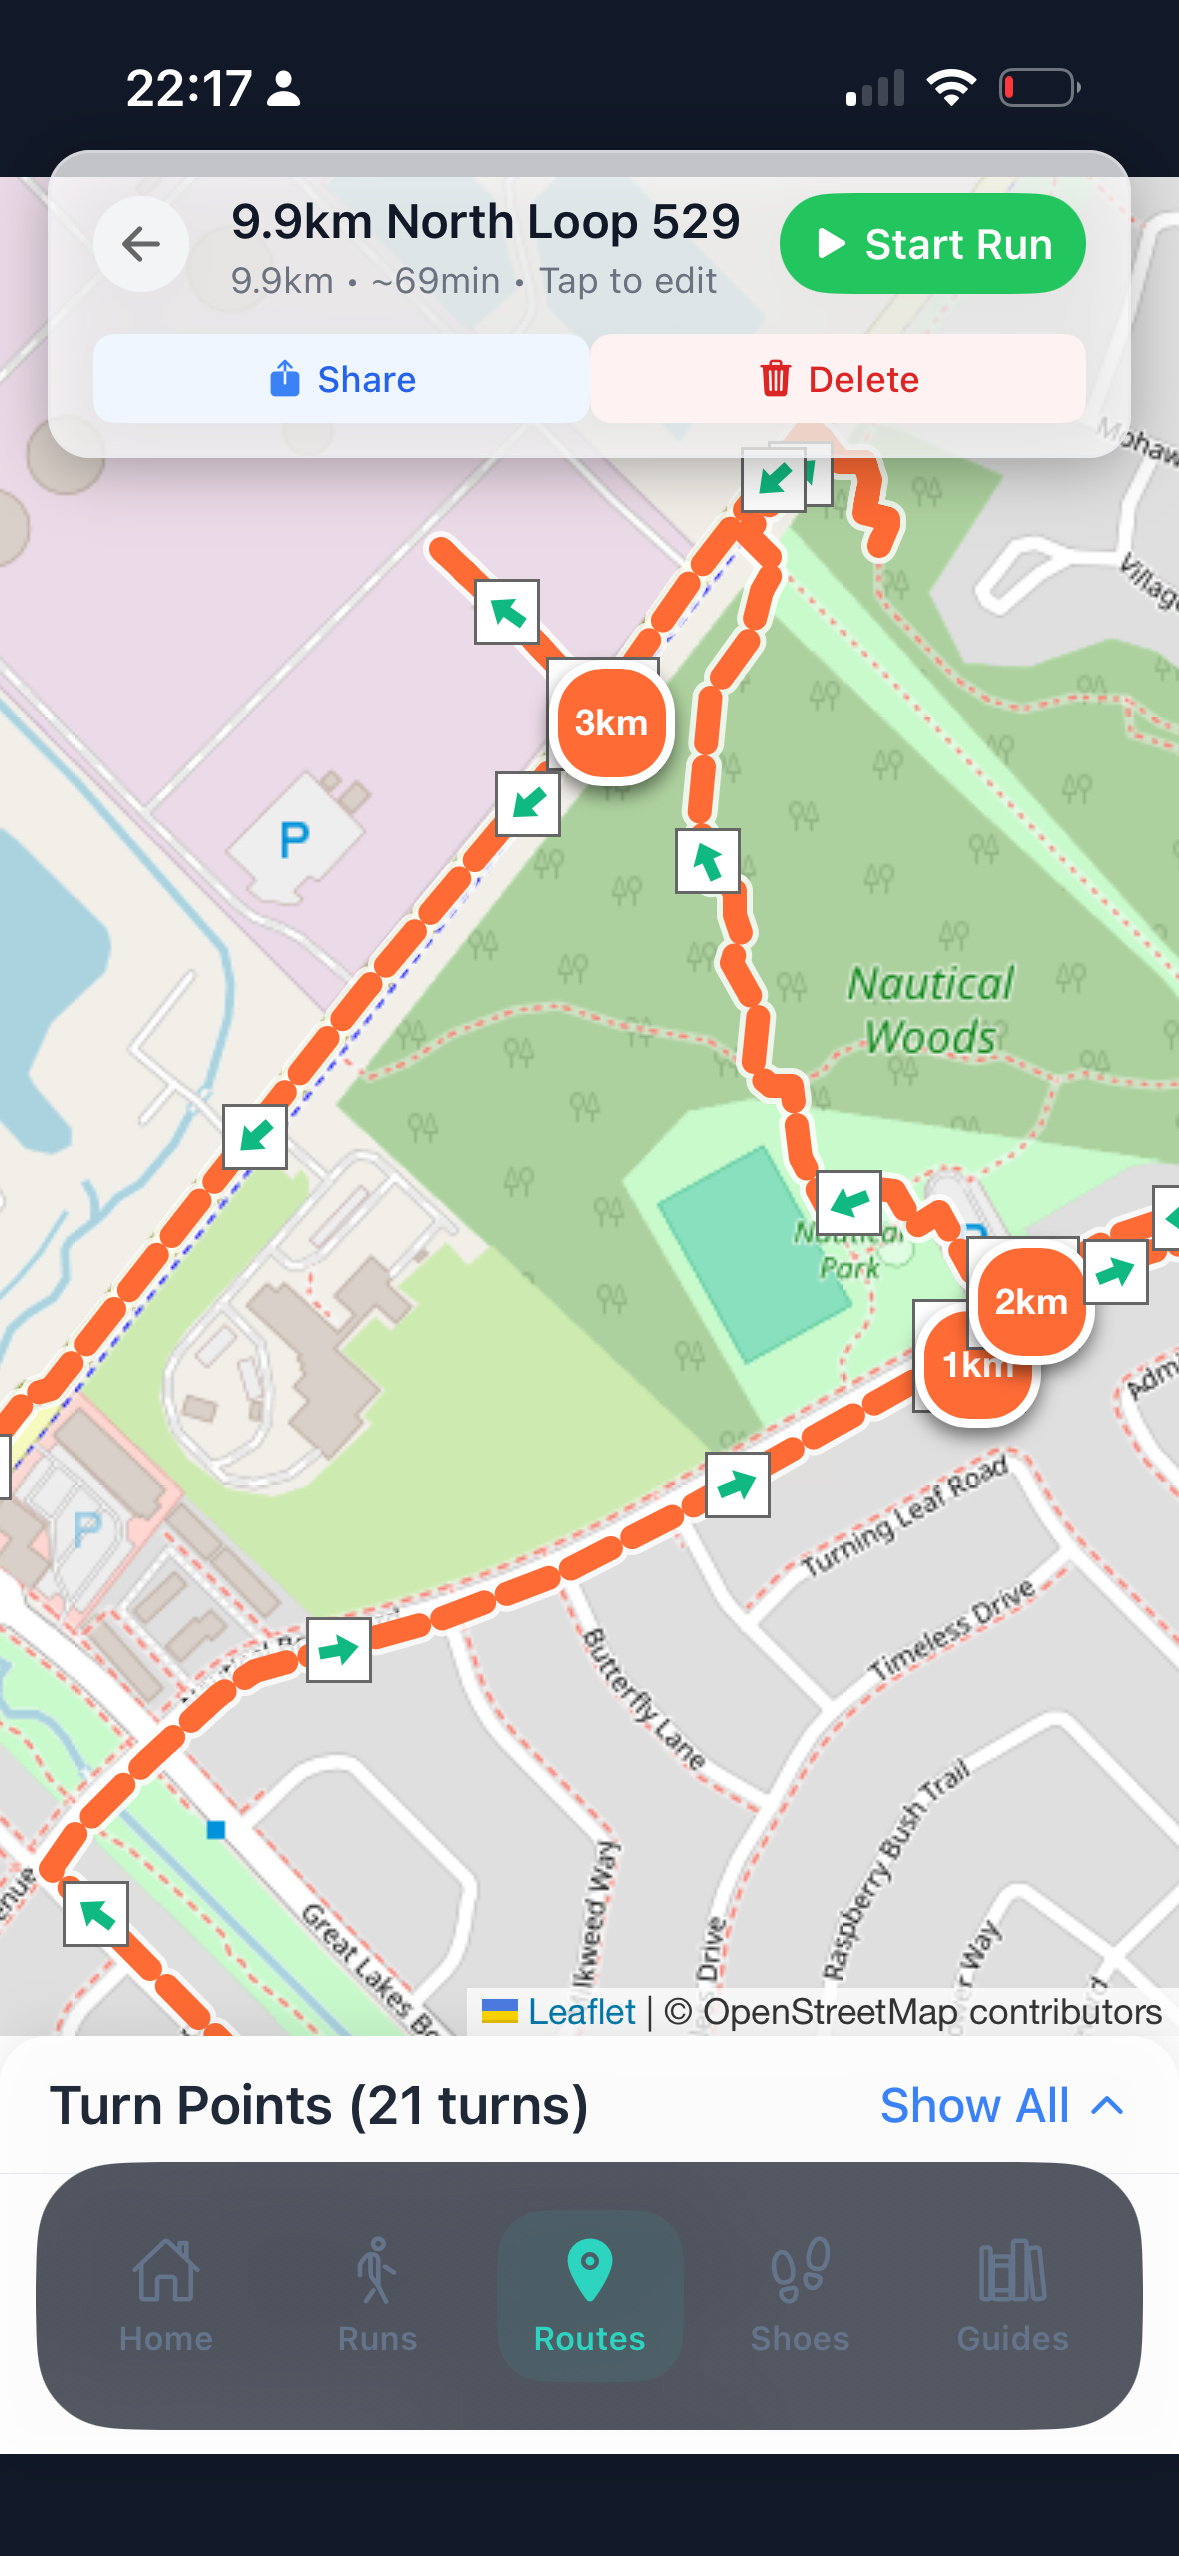
Route Planning
Generate running loops from your current location without manually planning routes on a map.
Generating a Route
- 1.Go to Routes tab or tap Plan Route from Home.
- 2.Your current location is auto-detected.
- 3.Select a target distance (1km to 21km presets, or enter custom).
- 4.Wait 10-30 seconds while the app generates loop routes on pedestrian-friendly paths.
- 5.Review route options. Each shows distance, estimated time, and difficulty.
- 6.Tap Save Route to keep it for later use.
Saved Routes
All saved routes are accessible from the Routes tab. Tap any route to see the full map, distance, and last-used date. Swipe to delete routes you no longer need.
Tip
Route generation requires an internet connection for map data, but saved routes can be accessed offline.
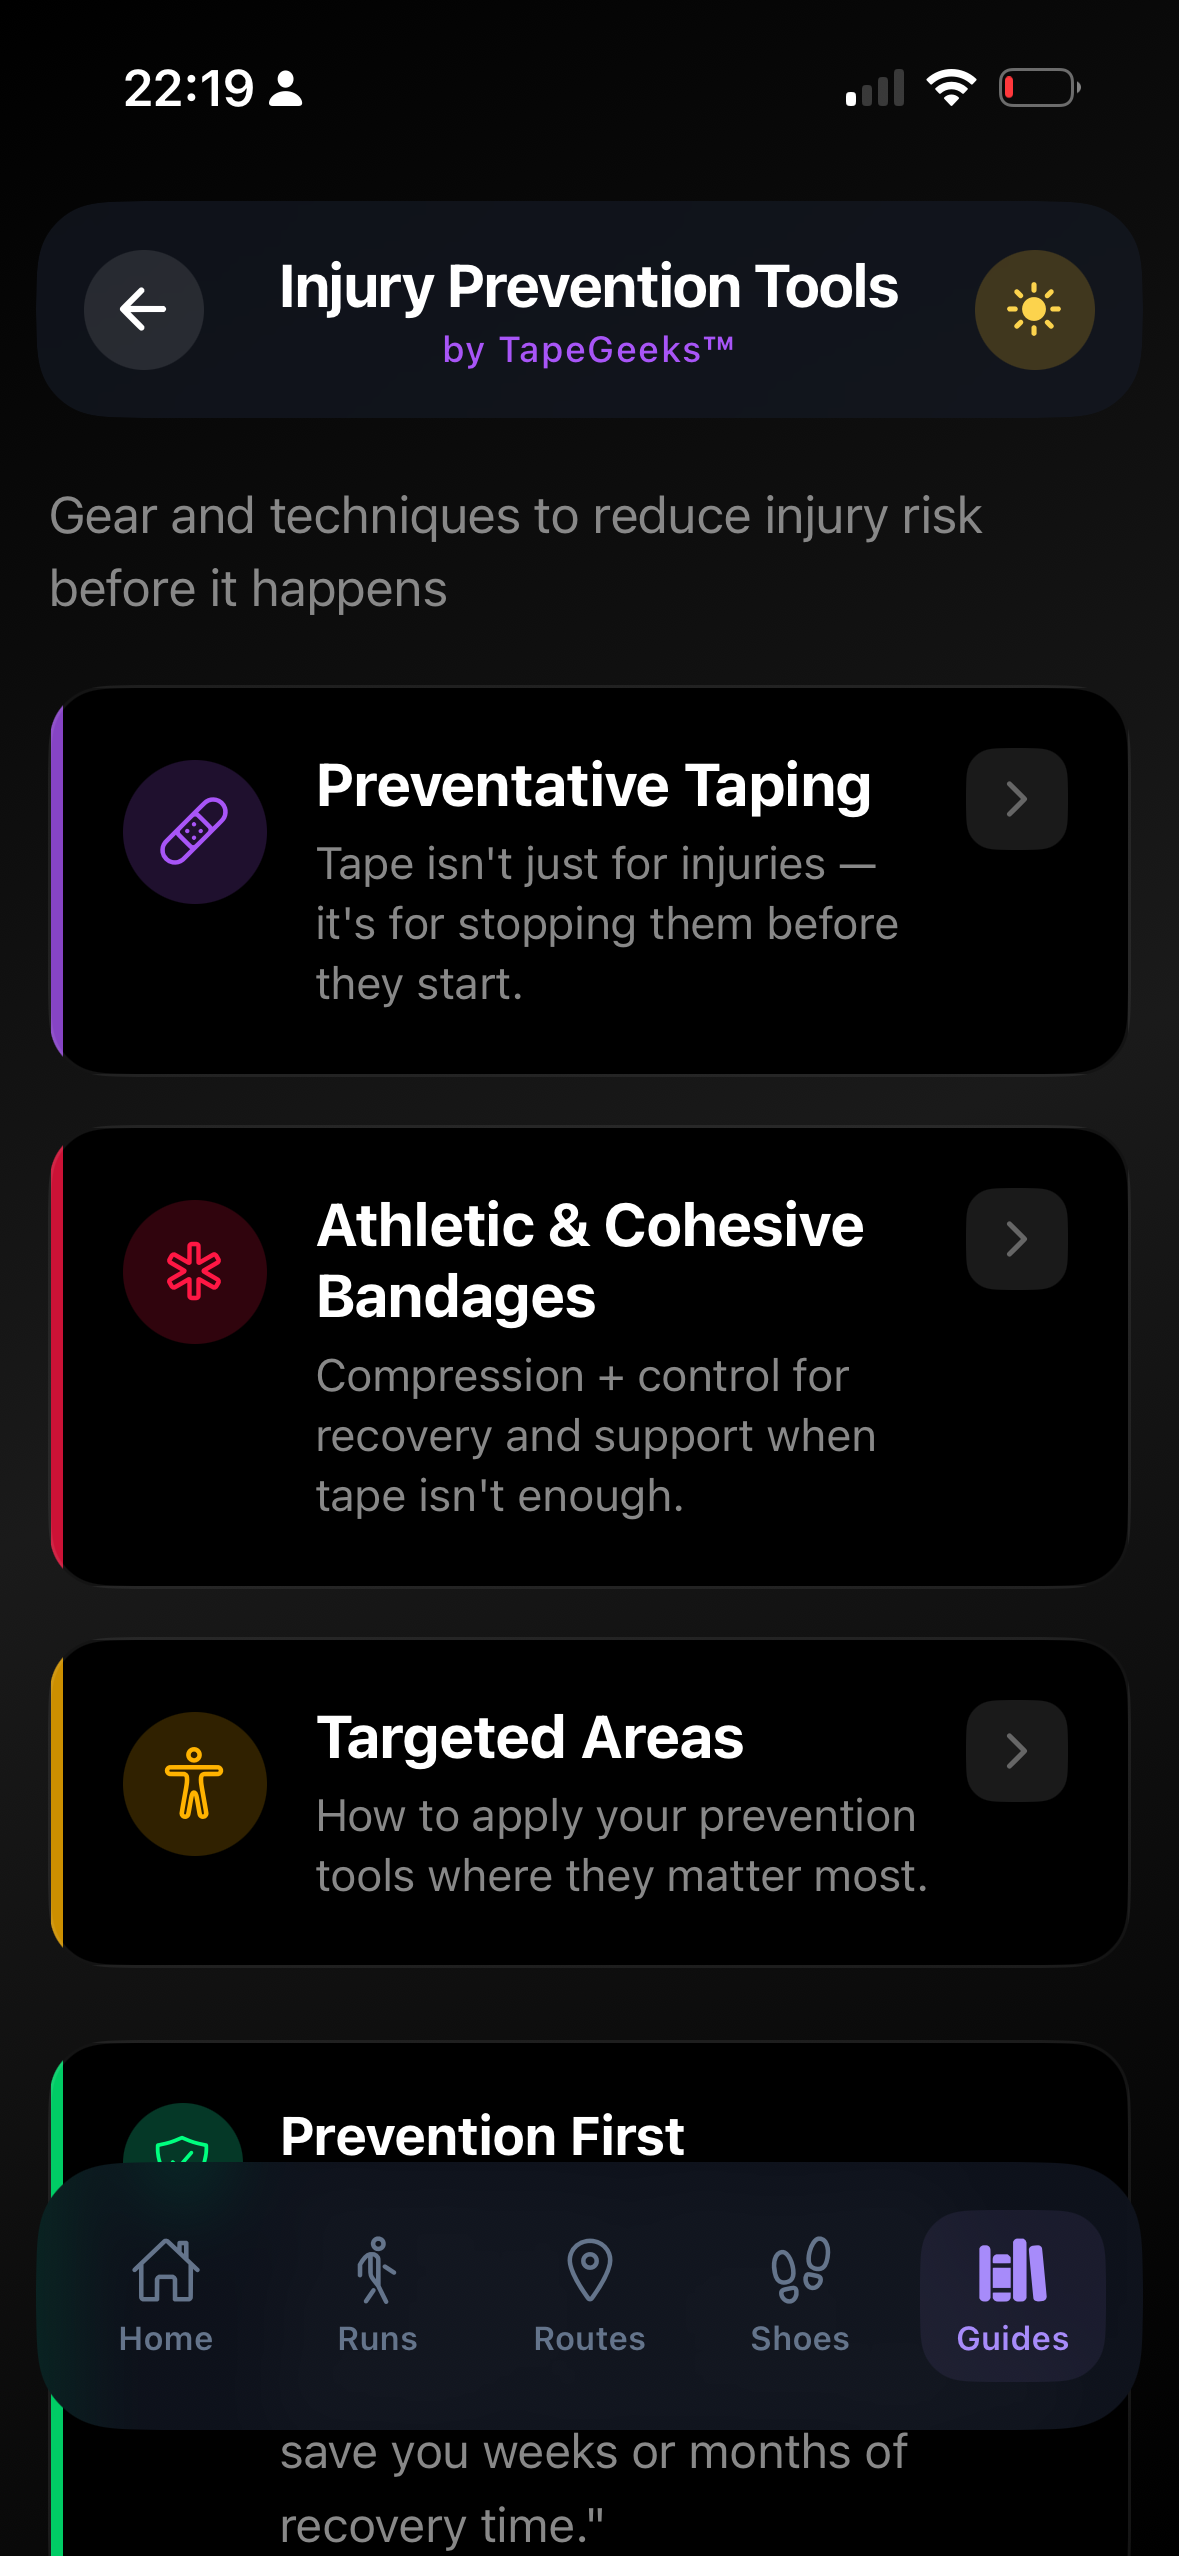
Runner's Guide
A comprehensive injury prevention and recovery library built with TapeGeeks sports medicine expertise. Available offline.
Guide Categories
Each Injury Guide Includes
- Symptoms and warning signs
- Causes and risk factors
- Prevention strategies
- Treatment options (self-care and professional)
- Related kinesiology taping techniques (with video)
- Return-to-running timeline
Settings
Access Settings via the gear icon on the Home screen.
Warning: Clear All Data
This permanently deletes all your runs, routes, shoes, and profile data. Since all data is stored locally, there is no way to recover it. Consider backing up your device before using this option.
Troubleshooting
GPS won't get a lock
Go outdoors with a clear view of the sky and wait 10-30 seconds. Indoors or in urban canyons, GPS may struggle. Check Settings > GPS Diagnostics to verify Precise Location is enabled. In iOS Settings > Privacy > Location Services > RunMate Pro, ensure "Always" or "While Using" is selected.
Distance seems inaccurate
GPS accuracy varies between 3-10 meters depending on conditions. Dense trees, tall buildings, and tunnels can cause drift. The app applies smoothing to compensate. For best results, run in open areas. If accuracy is consistently poor, restart the app and check GPS permissions.
Map shows gray or doesn't load
Map tiles require an internet connection to download initially. If running offline, maps you've viewed recently will be cached. Restart GPS tracking or ensure you have cell/Wi-Fi connectivity for new map areas.
Shoe doesn't appear in the shoe selector
Make sure the shoe is marked as "Active" (not Retired) in the Shoes tab. Tap the shoe to check its status and toggle it back to Active if needed.
Run won't save after tracking
Tap "Save Run & Route" on the completion screen. If it fails, use the "Back to Previous Screen" fallback button — your run data is held in memory until you navigate away. Save quickly after finishing.
App feels slow or unresponsive
Force-close the app (swipe up from the app switcher) and reopen it. If the issue persists after an iOS update, try deleting and reinstalling the app. Note: reinstalling will erase all local data since there is no cloud backup.
How do I change units between km and miles?
Go to Settings > Profile and toggle the unit preference. This changes all distance displays throughout the app instantly.
Can I export my run data?
Yes. Open any run from History, tap Share, and export the run details as text via the iOS Share sheet. You can send it to Notes, email, or any other app.
Is my data backed up?
All data is stored locally on your device for privacy. There is no cloud backup. Your run data is included in standard iOS device backups (iCloud or iTunes/Finder). We recommend keeping device backups current before major iOS updates.
Best Practices
Before Your Run
- Check location permissions
- Verify shoe is active (not retired)
- Go outdoors for GPS lock
- Optionally generate a route first
During Your Run
- Keep phone in pocket or armband
- Use Pause for breaks (timer stops)
- Check tracking quality indicator
- Foreground tracking is more stable
After Your Run
- Save quickly (data is in memory)
- Add notes for future reference
- Check weekly progress bar
- Monitor shoe mileage alerts
Still need help?
We're a small team in Oakville, Ontario — we read and respond to every email.
Email admin@tapegeeks.com →